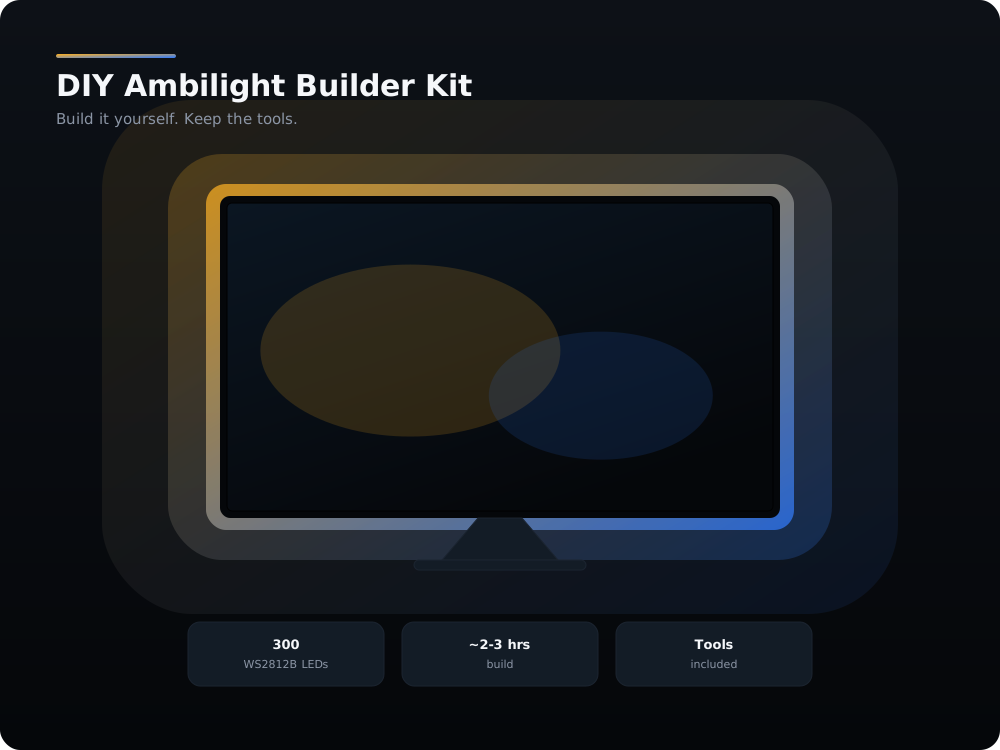
DIY Ambilight Builder Kit
Build it yourself. Learn it for life.
₹2,799
GST included · ships pan-India
This is the kit I wish I had when I started. Everything in the plug-and-play box, minus the shortcuts, plus the tools. You flash WLED yourself over USB from a browser, you cut the strip to your TV, you solder the joints and you bridge the corners. It takes an evening. At the end of it you have an ambilight, and — the part that actually matters — you know how it works, so the next time something goes wrong you can fix it instead of replacing it. The 330 Ω resistor and 1000 µF capacitor are in the box because they should be in every build; the guide explains exactly what each one is protecting you from.
What's in the box
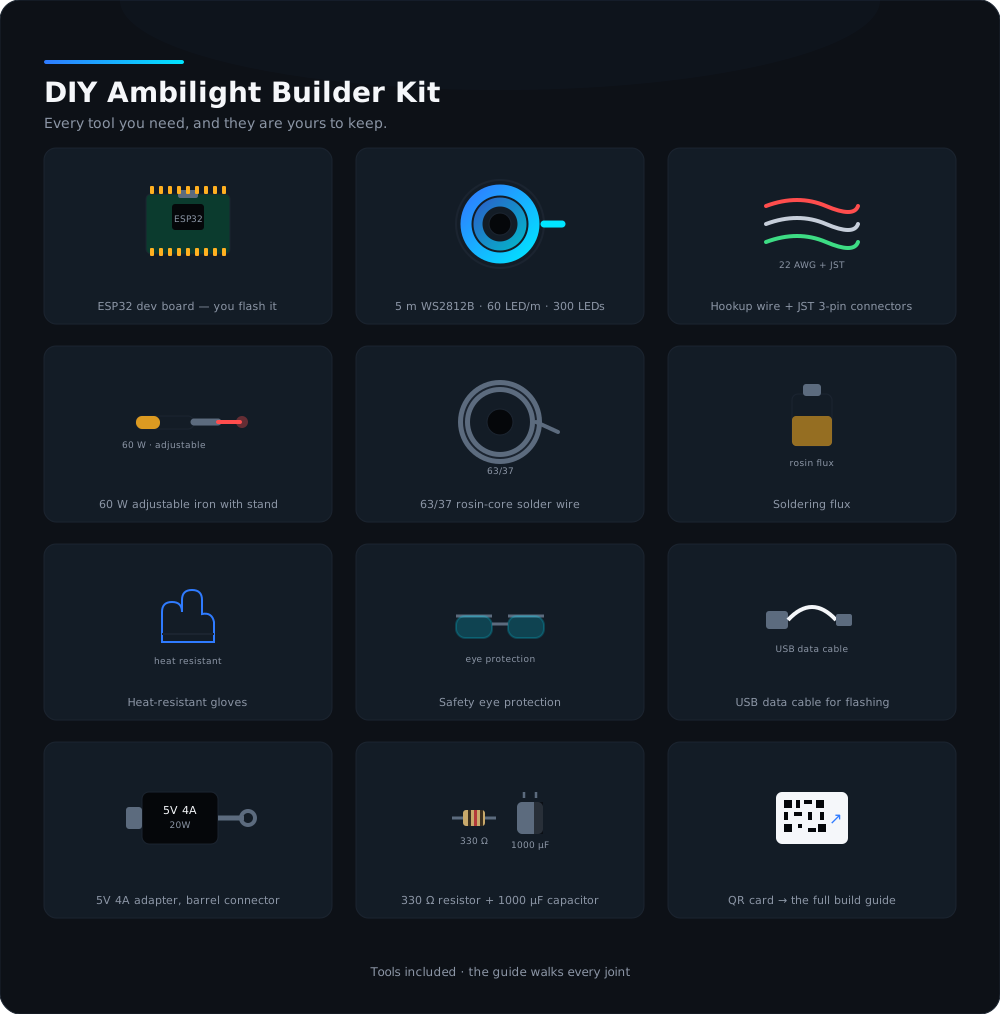
- ESP32 dev board (blank — you flash WLED yourself using the guide)
- 5 m WS2812B addressable LED roll (60 LEDs/m, 300 LEDs)
- Hookup wires (red / black / green, 22 AWG) + JST 3-pin connectors
- Soldering iron, 60 W adjustable temperature, with stand
- Solder wire (63/37 rosin core)
- Soldering flux
- Heat-resistant gloves
- Safety eye-protection glasses
- USB data cable for flashing the ESP32
- 5V 4A power adapter with DC barrel connector
- 330 Ω resistor + 1000 µF capacitor for data-line and power protection
What else you need
- A TV or monitor, 32" to 75". The kit sticks to the back — it never plugs into the TV, so any brand works.
- A Windows PC running SignalRGB, but only if you want the lights to follow what is on screen. Everything else works from your phone.
- 2.4 GHz Wi-Fi. The ESP32 has no 5 GHz radio.
Specifications
The numbers
- Protection
- 330 Ω series resistor on data, 1000 µF across the 5 V rail
- Solder
- 63/37 rosin core
- LED strip
- WS2812B, 5 m, 60 LEDs/m, 300 LEDs total
- Controller
- ESP32 DevKit V1, blank — flashed by you at install.wled.me
- Build time
- About 2–3 hours for a first build
- Safety
- Heat-resistant gloves and eye protection included
- Soldering iron
- 60 W, adjustable 200–450 °C, with stand
- Soldering
- Yes — about 12 joints
- Fits
- TVs and monitors from 32" to 75"
- Data pin
- GPIO16 (WLED default on ESP32)
- Flashing
- Chrome or Edge over USB — no IDE, no drivers to hunt down
- Power
- 5V 4A (20 W) adapter, 5.5 × 2.1 mm DC barrel
Read it before it arrives
The guides for this kit
All free, all complete. Read them now and the box will take half the time.
DIY build: flash WLED, wire it properly, solder it once
Flash the ESP32 from a browser, wire 5 V, ground and data with the protection components that actually matter, and make joints that survive.
Screen sync: SignalRGB + WLED
Make the LEDs follow what is on your screen. Install SignalRGB on Windows, add the WLED device, map the layout, and tune it so it feels instant.
Troubleshooting: every failure I have actually seen
Flicker, wrong colours, a dead first LED, Wi-Fi that drops, and the red tint at the far end. What causes each one and how to fix it.